Installation on Linux
This guide demonstrates installation on Ubuntu 24.04 LTS, but it should work for all common distributions (Fedora Linux has also been tested).
To follow this guide, we assume you have at least a basic understanding of the terminal. All commands you need to enter into the terminal start with $ and are in monospace. Do not include the dollar sign. It simply indicates that it is a terminal command.
This guide covers the following steps:
- Installing Reaper
- Installing Ultraschall
1) Installing Reaper
You can download the standard Linux package from http://reaper.fm/download-old.php?ver=6x. In my case, it is reaper683_linux_x86_64.tar.xz, which is version 6.83.
We navigate to the folder where the package is located and extract it:
$ cd ~/Downloads
$ tar xvf reaper683_linux_x86_64.tar.xz
This extracts the folder reaper_linux_x86_64 in this directory, so we change into that folder:
$ cd reaper_linux_x86_64/
Then, we run:
$ ./install-reaper.sh
And you should see:
$ ./install-reaper.sh
REAPER installation script
-------------------------------------------------------------------------------
Available commands:
  [V]iew readme-linux.txt and REAPER license agreement

  [R]un REAPER from /home/user/Downloads/reaper_linux_x86_64/REAPER/reaper

     You can run REAPER without installing it.

  [I]nstall REAPER (you will be prompted for various options)

     This install script can put the REAPER program into /opt
     or ~/opt, or a path of your choice, and optionally set
     up desktop integration (menu items, file associations).

  [A]dd desktop integration for /home/user/Downloads/reaper_linux_x86_64/REAPER/reaper

     If you've extracted REAPER into the path you would like
     it to live in (/home/user/Downloads/reaper_linux_x86_64/REAPER), you can set
     up desktop integration (menu items, file associations,
     etc) via this action.

Command [V,R,I,A]: I
We enter "I" and press Enter, then you will see:
Install REAPER
  [1] Install to /opt (in /opt/REAPER) [will require sudo password entry]
  [2] Install to /home/user/opt (in ~/opt/REAPER)

  Or, enter a path starting with / or ~/ to install to that path
  (e.g. /foo to install into /foo/REAPER, or ~/foo to install into ~/foo/REAPER)

Path to install [1,2, or /whatever]: 2
Here, we select option "2". Then you will see:
Would you like to add desktop integration for this install [Y/N]?: Y
We select "Y". Next, you will see:
Confirm:
  Copy files to: /home/user/opt/REAPER
  + Perform desktop integration for /home/user/opt/REAPER/reaper

Proceed with installation [Y/N]?: Y
We confirm with "Y" and at the very end, it should say *** Installation complete.
Reaper is now installed. To launch Reaper for the first time, run:
$ ~/opt/REAPER/reaper
It is also possible to launch Reaper via the mouse like any other program since a desktop entry has been created.
You can now enter the license key or evaluate Reaper first.
If you see a window with the error "Error opening devices," you can ignore it for now and click "Close." Reaper should now run. We must now close Reaper and proceed to step 2.
2) Installing Ultraschall
Reaper must be closed for the following installation.
Now, we download the latest release 5.1 for Linux from: https://github.com/Ultraschall/ultraschall-installer/releases/latest
At the time of writing, this is version "V5.1." Under "Assets," download the package Ultraschall-5.1.tar.gz.
We go back to the folder and extract the Ultraschall package:
$ cd ~/Downloads
$ tar xvf Ultraschall-5.1.tar.gz
This extracts Ultraschall into the folder "Ultraschall-5.1". We switch into the folder and install Ultraschall:
$ cd Ultraschall-5.1/
$ ./install.sh
You will see:
Your current REAPER configuration has been saved to /home/user/.config/ultraschall/backups/20220127T202141.
Installing the Ultraschall REAPER Theme...
Done.
Installing the Ultraschall REAPER Plug-ins...
Done.
Installing the Ultraschall StudioLink plugin...
Done.
Installing the Ultraschall StudioLink OnAir plugin...
Done.
Installing the Ultraschall Soundboard plugin...
Done.
Installing the Ultraschall REAPER Scripts...
Done.
We then restart Reaper (or via the UI):
$ ~/opt/REAPER/reaper
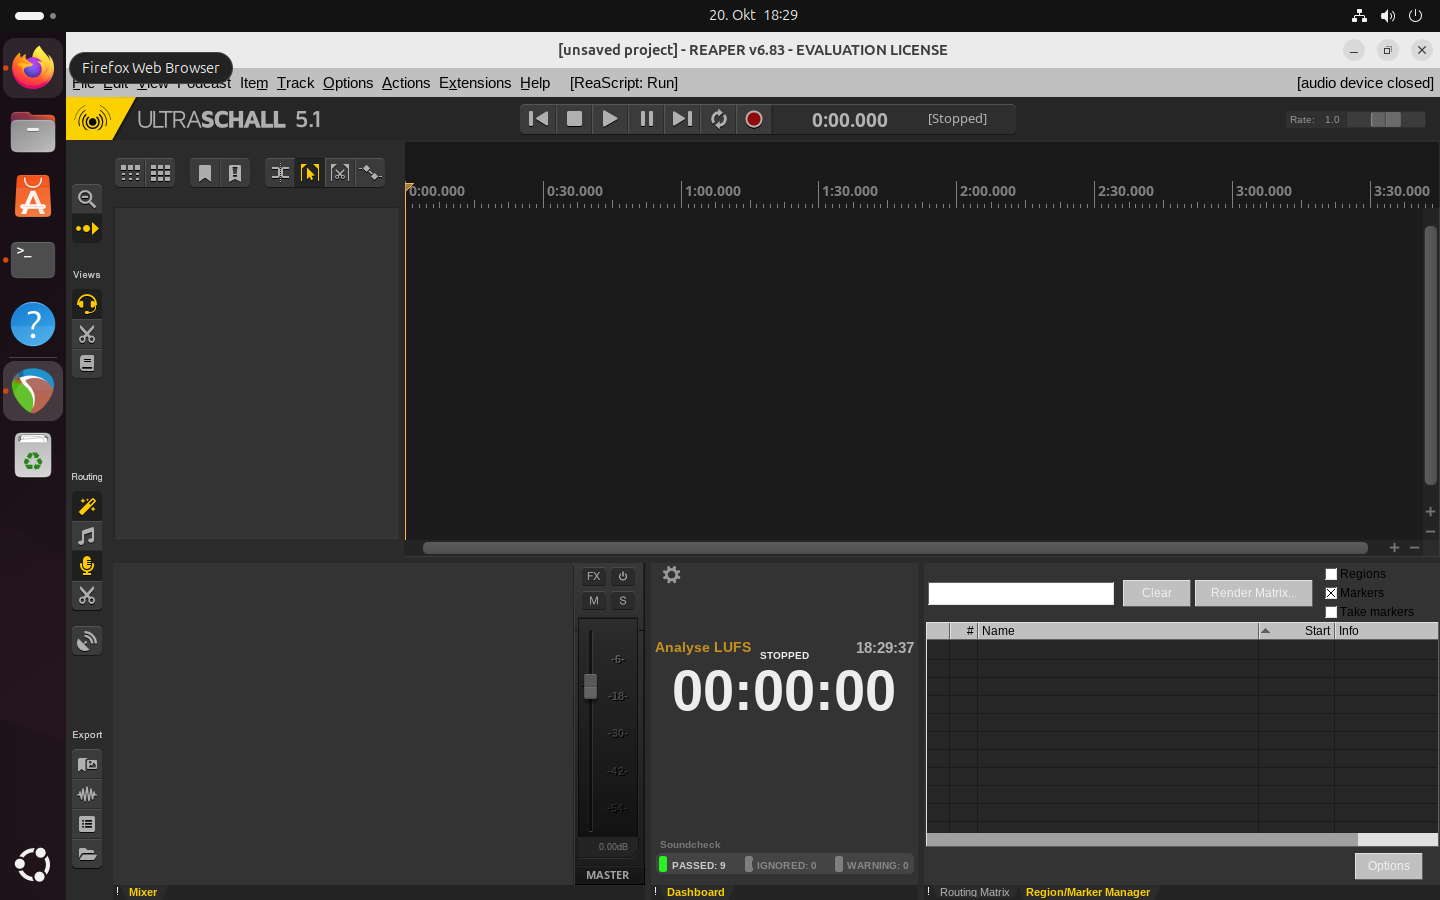
If everything worked, you will see the Ultraschall window with the title. The installation is now complete, and you can start using it!

Ubuntu 24.04 LTS and many other distributions now use Pipewire (the recommended solution). How to best configure the audio settings is described in the guide Setting up audio on Linux with Reaper/Ultraschall (Pulseaudio and Pipewire).