Export
Introduction
Once your project is edited and mixed, you can export your finished audio file. In this chapter you will learn how to export a podcast episode and which important points you should pay attention to, from chapter markers to episode covers.
There is a very good tutorial video on this topic.
The workflow
The export workflow in Ultraschall is accompanied by four icons [19-22] placed on the left margin. They guide you through all the important steps so that you end up with a finished audio file. It is best to follow these four icons and the corresponding steps from top to bottom.

- 1. Open Marker Dashboard [19]
- 2. Open Render Wizard [20]
- 3. Open Export Wizard [21] 4. open working directory [22]
You can also jump directly to the third step, because there you will find an overview of all necessary export steps.
There is also a video explanation by Ralf Stockmann:
Remark: This video is in German. Please do not forget to turn on auto-generated subtitles.
1. marker dashboard
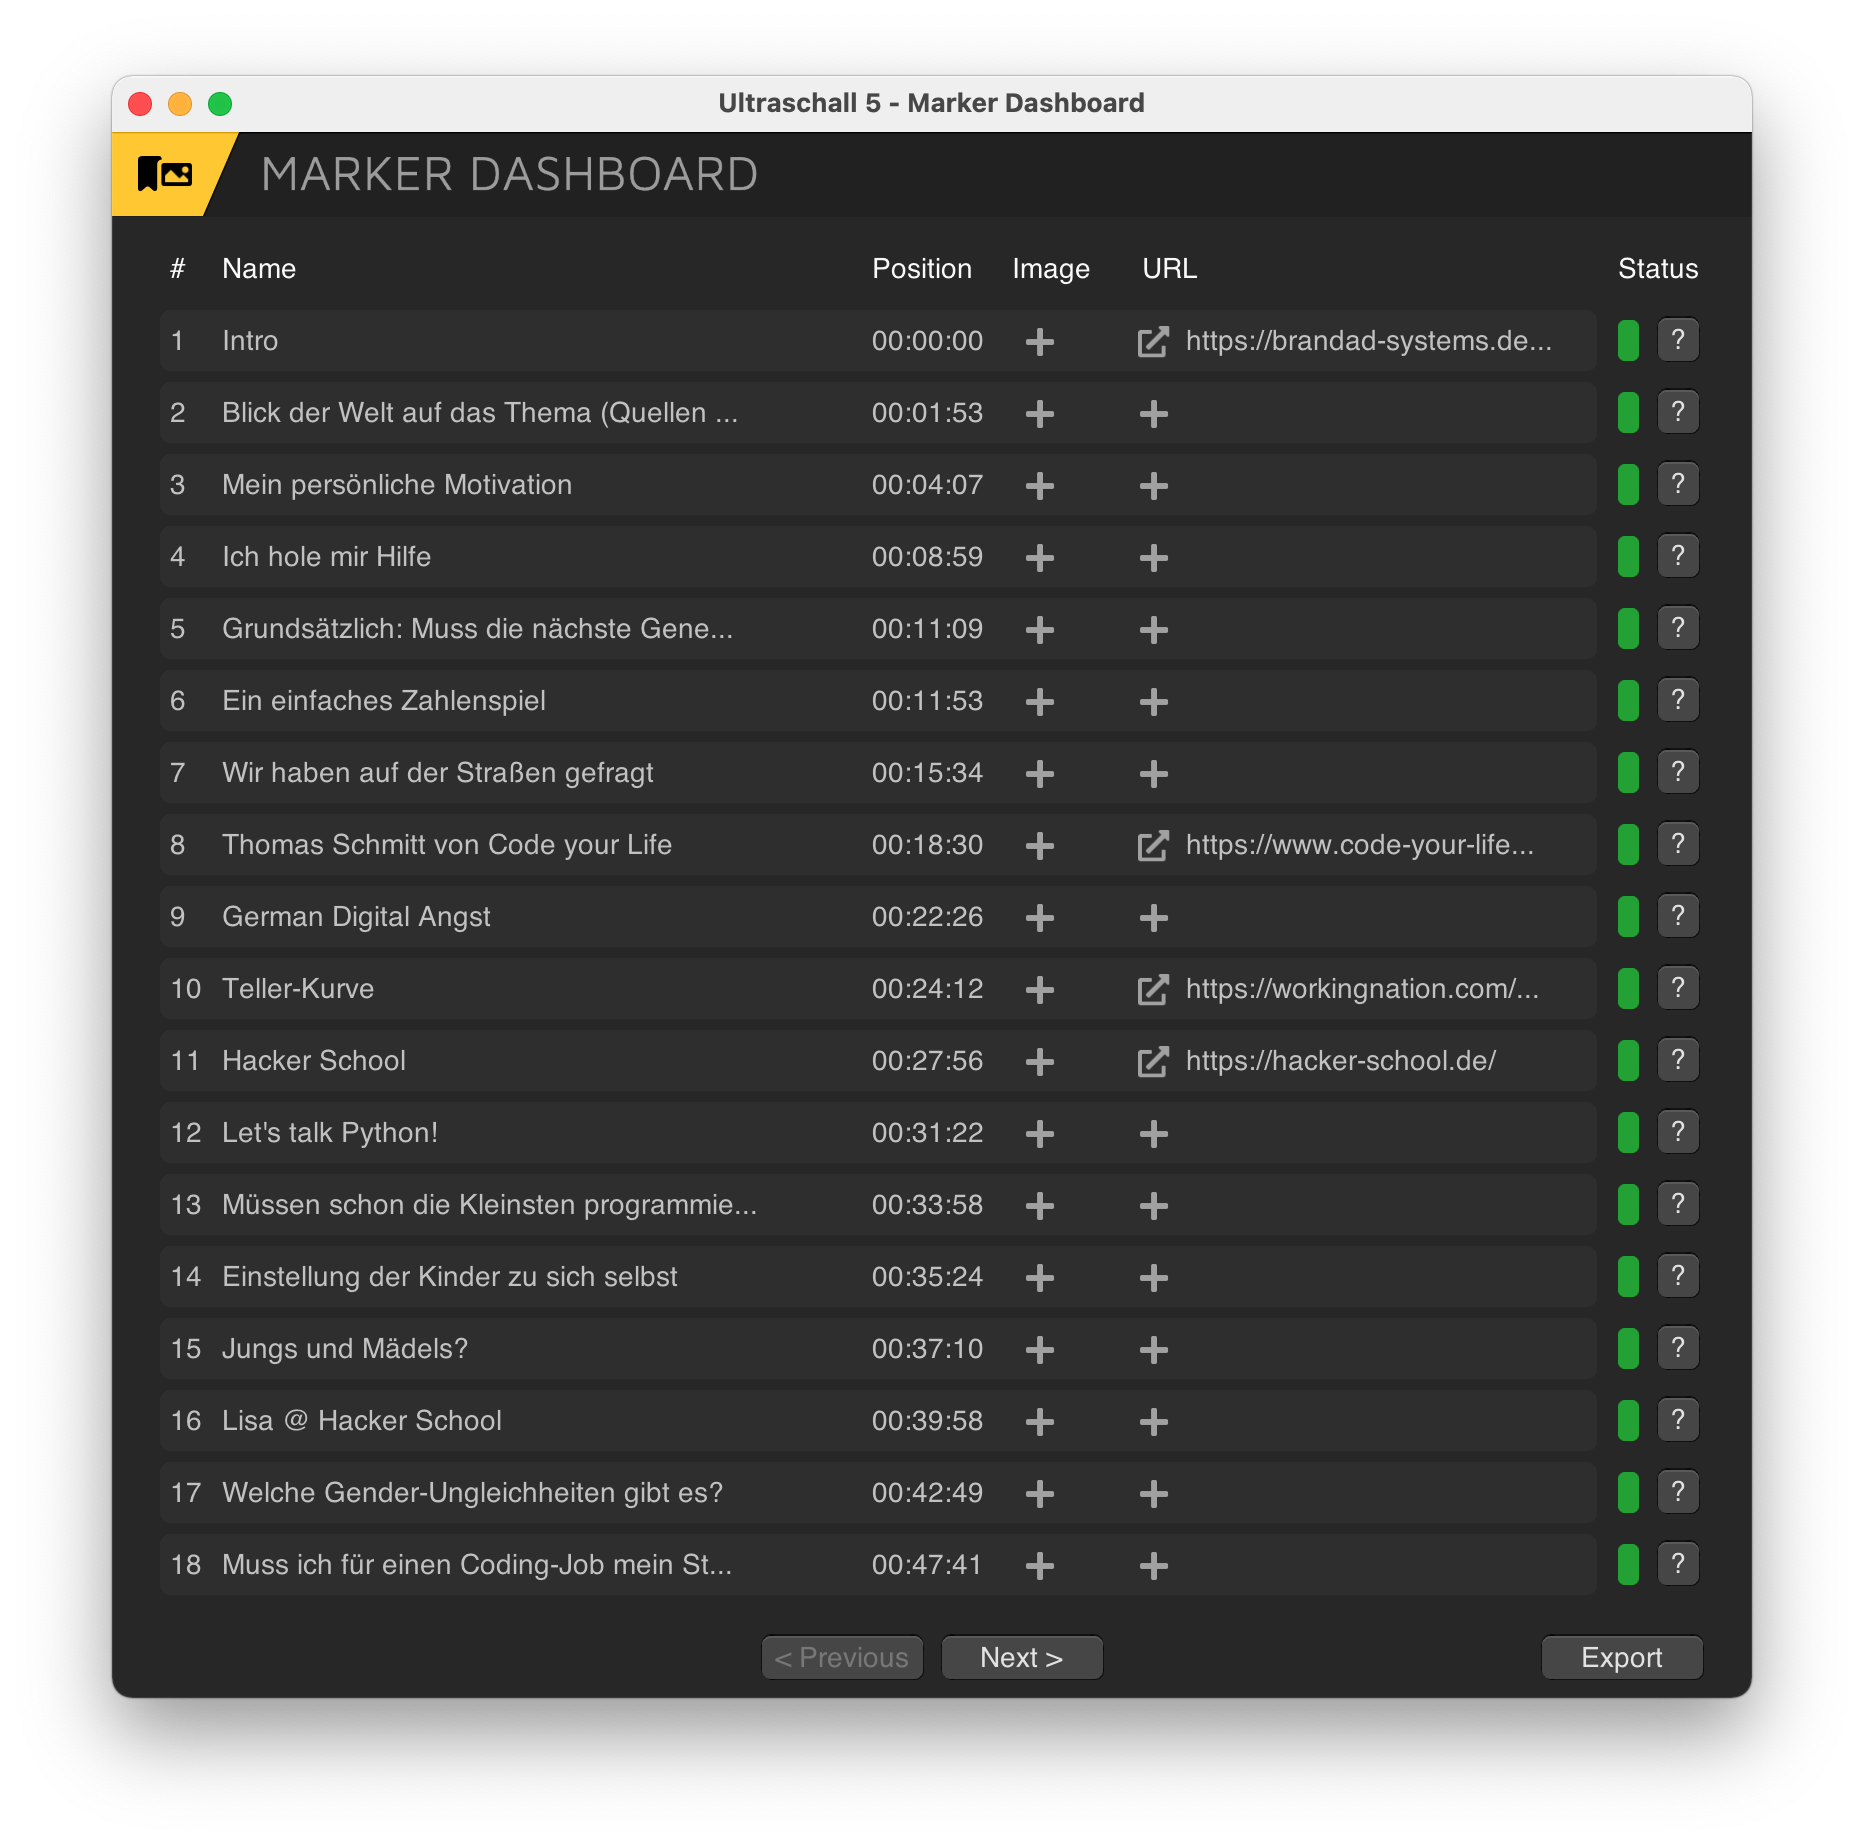 Marker Dashboard: This is how the marker dashboard can look like in a finished project.
The marker dashboard gives you a good overview of all chapter markers already set[28] - and it helps you to enrich them with further information such as a URL or a chapter marker image (which is not shown by all, but by most podcatchers when listeners reach the spot during playback).
Chapter markers improve the listening experience, but they are completely optional. Not every podcast format needs chapter markers, not all playback programmes support them and only a few listeners use them regularly - but: They also help you to keep track of longer recordings.
If the status indicator is green for all set markers, everything is OK and you can continue with the next step. If the display is red, a click on the question mark to the right of the status will help you with an explanation of the missing or incorrect information. Red marked entries are usually not exported, but they cause the check in the [3rd Export Wizard to fail](#3-Export Wizard).
 Missing marker name: Markers always need a name.
Not all podcatchers handle chapter markers equally (well). For maximum compatibility, we recommend always setting a marker at the beginning of the recording - i.e. at the position 00:00:00.
2. render wizard
Take a breath before you open the render assistant[20], because it gives you a lot of setting options, of which we will only explain the most important ones here. Most of the others are either intended for music production with REAPER and/or have a sensible default value that you should only change if you know exactly what you are doing.
If you press the Render icon[20] in the lower left corner of Ultraschall (or select the item 'Start Export Assistant' via the menu 'Podcast'>'Export'), Ultraschall checks whether all existing tracks will also be audible. If you have muted individual tracks intentionally or unintentionally, you will receive the following warning on the way to the Render Assistant:
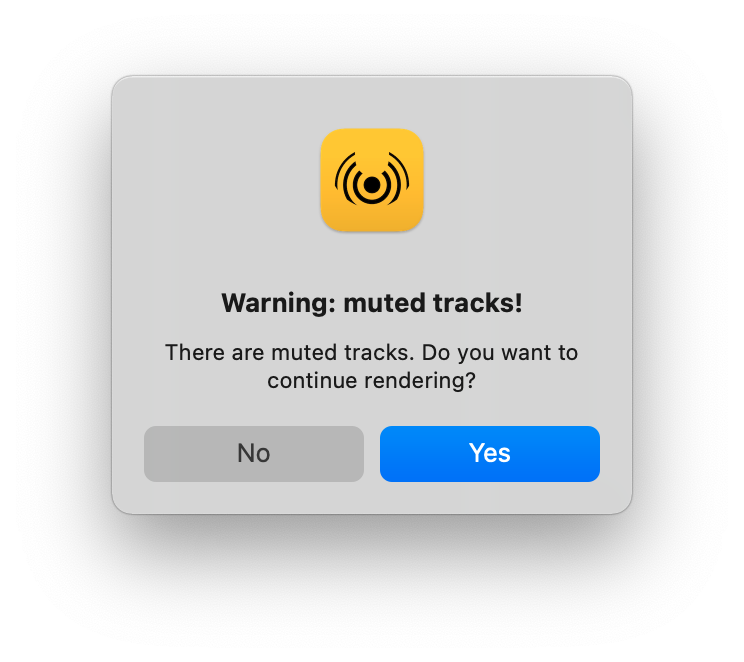 Warning muted tracks: Ultraschall warns you if you want to export a project in which one or more tracks are muted.
If you click 'No' here, you end up back in the workspace where you can check again which tracks should be included in the export.
If you click on 'Yes' instead, the wizard opens - in this case, the muted tracks will not be included in the export and will therefore not be heard later.
The most important elements of the Render Assistant:
 The Render Assistant: The Render Assistant gives you a lot of freedom to render your project with individual settings.
Source: Here you define which tracks the export should contain. The default value Master mix combines all audible tracks into one file. Stems (selected tracks) ensures that each track is exported as a separate file. **Caution: Only the tracks that are selected will be exported - you can recognise selected tracks in the track area by the slightly lighter grey. You can select and deselect tracks in the track area [23] with the Render Wizard open by holding down the Cmd/Ctrl key and clicking on them. With Master mix + Stems you get both the merged file and the individual (selected) tracks after the export.
-
This selection determines whether your project is rendered from beginning to end (
Entire project). If you only need a section because you want to export a small teaser from a longer episode, for example, selectTime selectionhere - then only the section selected in the Timeline workspace [25] will be exported. Other options you can use here are: Custom time range', 'Project regions' or 'Selected regions'. -
Once you have made an option in the Render Wizard, you can save it as a 'preset' - preferably before you click on 'Render' - so that you can simply select it here the next time instead of having to specify it individually a second time. Ultraschall comes with a handful of useful presets.
-
Here you define where in your file system Ultraschall stores the rendered files. You can specify the directory via
Browseor directly the desired file name. In many cases, however, it is advisable (especially if you work with presets and/or stems) to compose the file name dynamically with so-called wildchars. As wildchars, you can choose from a number of variables (see screenshot); useful ones include$trackfor the name of the track or$regionif you are rendering several regions in one export process. If you did not create a preset during your last export, you can access the last used file names including wildchars via the selectionRecent patterns. -
In the Options section, you can probably live very well with the default settings - and if not, then you certainly know where to reach. The only important thing here is that the 'Sample rate' here matches the sample rate as you have set it in the settings for your audio interface.
-
Primary output format**: Here you define the format in which you want to render the result. You can find all details about the individual file formats later in this chapter under [Export file formats](#Export file formats).
-
Secondary output format**: If you want to export files in two different formats in one rendering process, select the second format in this tab.
-
Render X file(s):** The 'Render' button informs you how many files will be rendered from Ultraschall in the end - especially with muted or selected tracks/stems or multiple exports, this information is helpful to prevent errors. A click on the button opens another programme window that shows you the progress of the rendering process. After the export is complete, all dialogues close automatically and you return to the working view.
3. export wizard
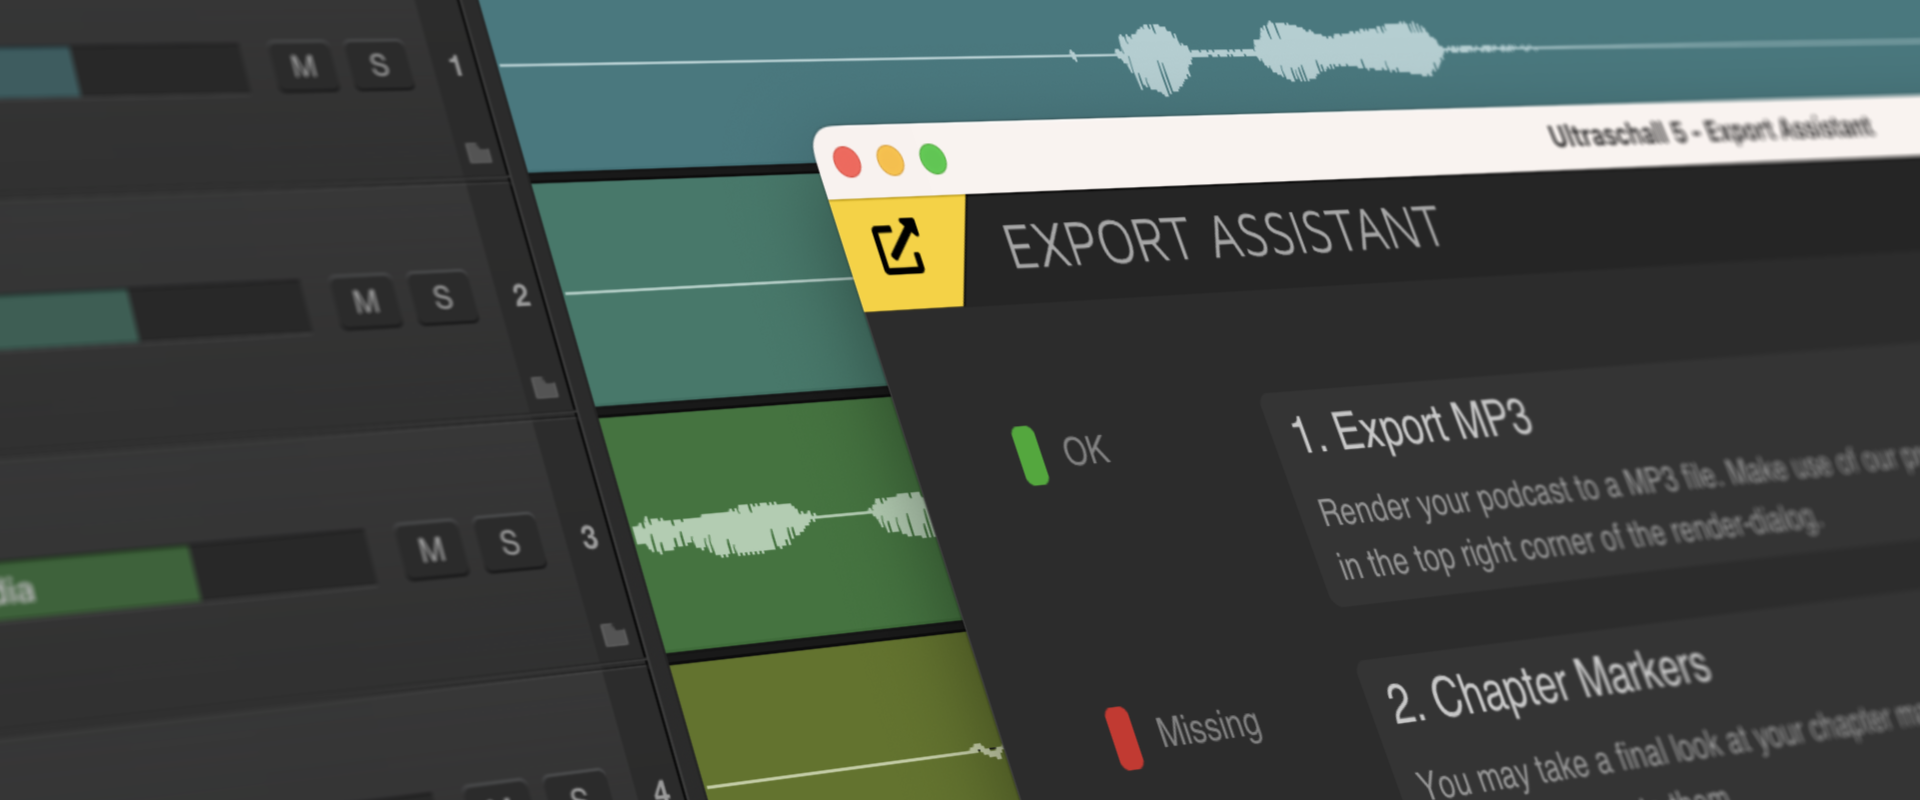
The export assistant[21] helps you to complete your project now. A traffic light system shows you what is still missing from your project. If metadata is completely missing, the traffic light shows red and to the right it says 'Missing'; if metadata is available but incomplete, the traffic light shows yellow and 'Incomplete' or 'Unknown'. If all traffic lights are green, you have done everything right.
 Export Wizard: The wizard helps you to complete your project.
1. Export MP3
If you have already gone through this step according to the instructions above, the traffic light here should be green. If not, open the render assistant via the corresponding button[20].
2. Chapter Markers
This traffic light is probably already green if you have followed the instructions above. If the traffic light is yellow or red, the button Edit Chapters[19] opens the chapter mark dialogue where you can check all marks again.
3. ID3 Metadata
Metadata is optional, but nevertheless important for the further processing and publication of your podcast. If all metadata is set correctly, the MP3 can also be read out correctly independently of your RSS feed. Thus, for long-term archiving, it makes sense to write this metadata directly into the file. The metadata is stored there in ID3 format. The Ultraschall MP3 metadata dialogue 21 shows you only the tags relevant for podcasts. For the podcast category, for example, you can use this list as a guide - otherwise you have a free hand. Only the characters (,) , ' and " should be avoided.
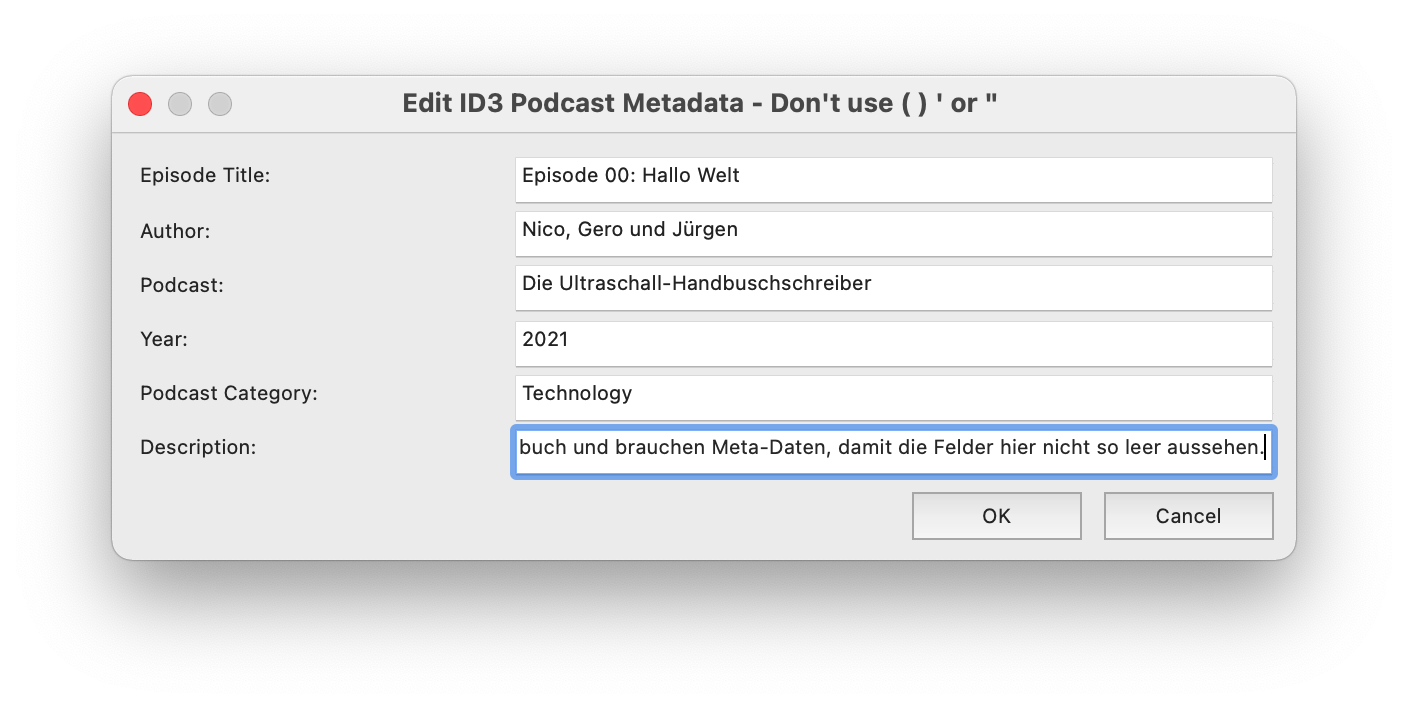 Edit MP3 Metadata: Fill in the metadata for your podcast here.
4th Podcast Episode Image
The image stored here will later be displayed in most podcatchers as the image for the episode. Simply drag and drop your episode cover into the export dialogue. The image will then automatically end up in the project folder. Supported formats are .JPG, .JPEG and .PNG. Ultraschall remembers the four most recently used episode images and offers them to you for quick selection here. The selected picture is displayed in large size on the left.
For Linux users: Currently, the file extension must actually be capitalised. So .png does not work. This will be fixed in the future and this hint will disappear.
5. Finalize MP3
For the last step, click once on the button 'Finalize MP3! If there are still problems, the assistant displays a dialogue with a corresponding warning. If the assistant did not find your MP3 file automatically, you must now enter it again manually. If everything worked, a success message appears - your podcast episode has been exported successfully!
Export file formats
Ultraschall (Reaper) is compatible with many audio formats. However, only a small number of formats are offered for output. The most important for ultraschall:
-
WAV is a format to store uncompressed audio files using a pulse code modulation method.
-
AIFF (Audio Interchange File Format) is used to store linear PCM audio data (mainly for Apple operating systems).
-
FLAC (Free Lossless Audio Codec) is a lossless codec that saves projects in containers including metadata.
-
MP3 is a lossy audio format. The approach: to store only the information audible to humans in order to achieve the best possible audio quality with the smallest possible file size. In the meantime, this audio standard is freely available.
-
OGG Vorbis is a free lossy audio format as a licence-free alternative to the (formerly proprietary) MP3 format. Since MP3 has become patent-free, this format has lost importance.
The MP3 format is most commonly used for Ultraschall projects. The Ultraschall workflow allows to save chapter marks and chapter images, among other things, in MP3 files. Other formats do not support these functions or do not support them sufficiently. As shown in the picture, the use of MP3 makes sense at a bit rate of 128 kBps, for example.
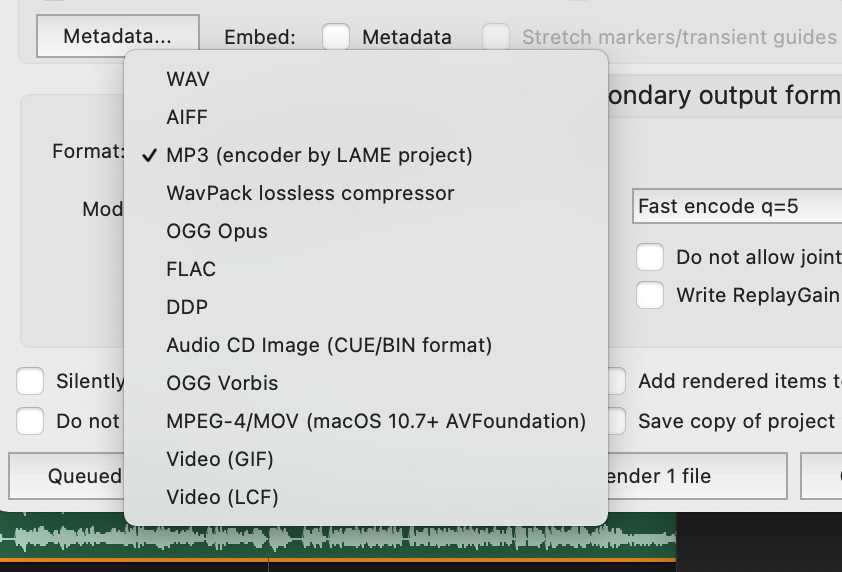 Export formats: With Ultraschall you can export your podcast episodes in various formats. The default is MP3.